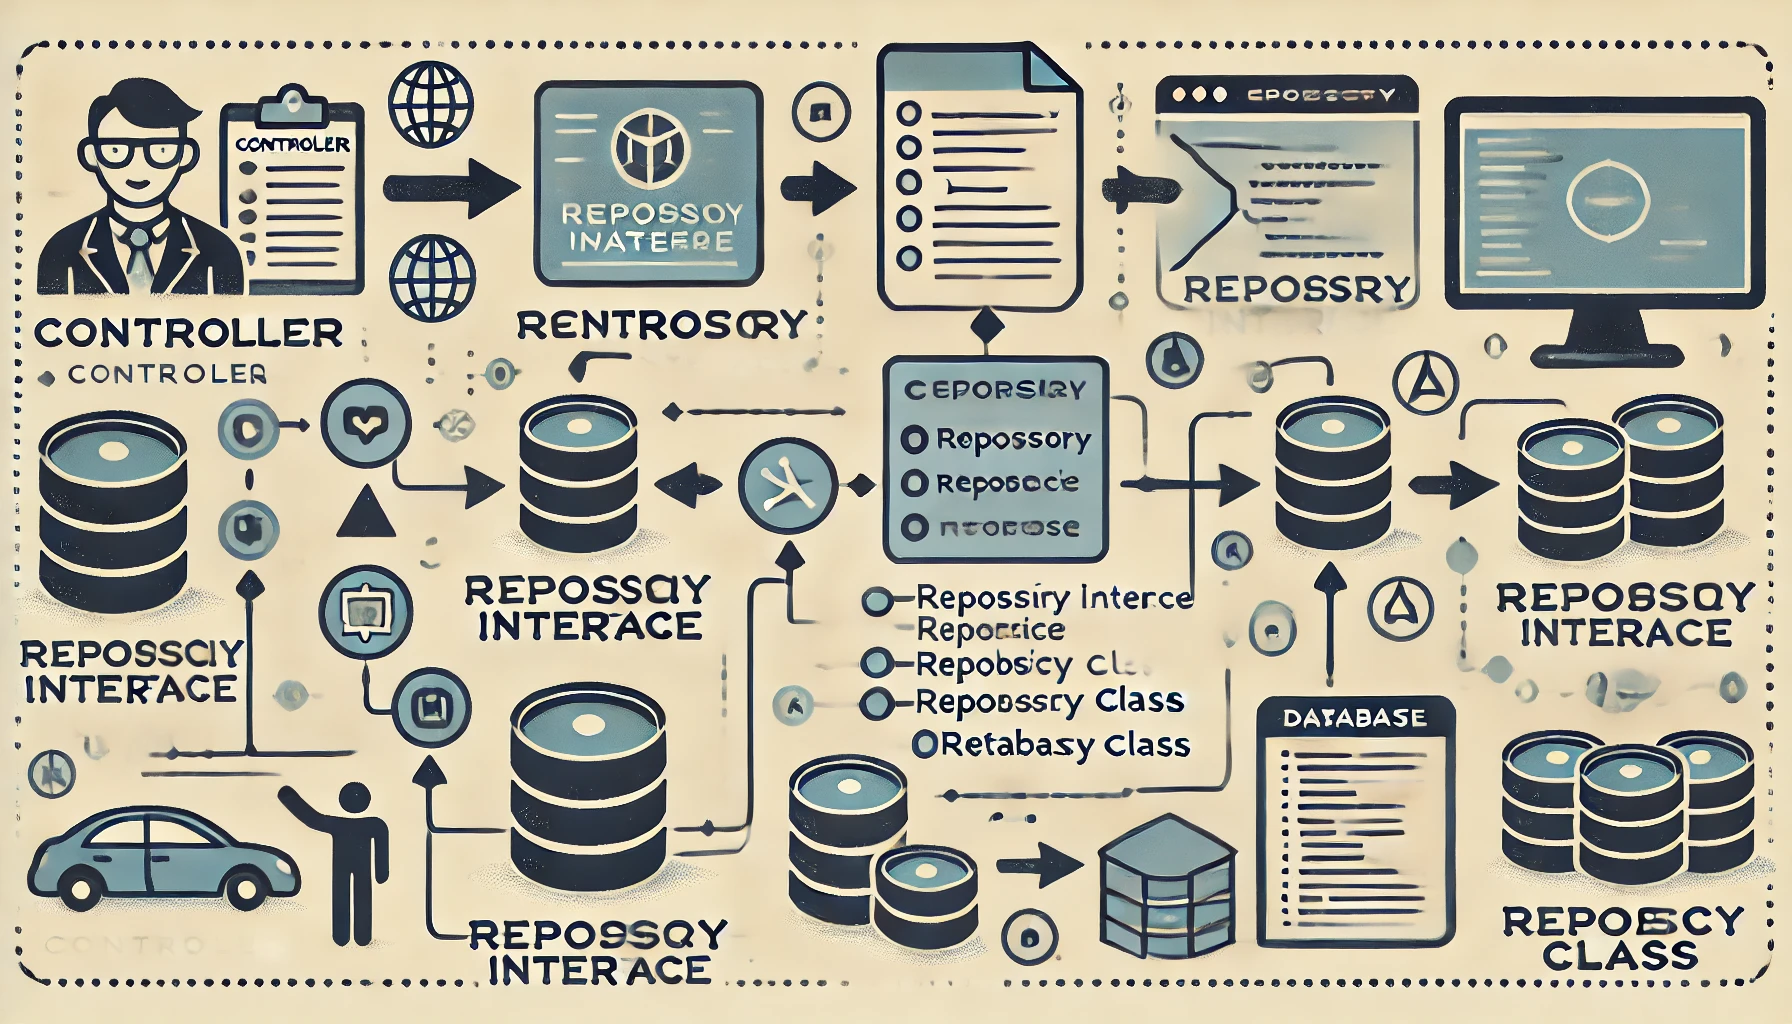
Understanding the Repository Pattern in Laravel
The Repository Pattern is a design pattern that mediates data access between the domain and data mapping layers, using a repository interface to enforce a standard set of operations. This pattern can help decouple your application’s logic from its data access logic, making it more modular, testable, and easier to maintain. In the context of Laravel, a popular PHP framework, the Repository Pattern can be particularly useful to organize and streamline your codebase.
What is the Repository Pattern?
In essence, the Repository Pattern creates an abstraction layer between the data access logic and the business logic of the application. Instead of directly interacting with the data source (like a database), the business logic interacts with a repository, which then communicates with the data source.
By using repositories, you can:
- Encapsulate the data access logic.
- Centralize common data operations.
- Swap out the data source without affecting the application logic.
- Improve code testability by mocking repositories during testing.
Implementing the Repository Pattern in Laravel
To implement the Repository Pattern in Laravel, you typically follow these steps:
- Create a Repository Interface: This interface defines the methods that the repository should implement.
- Create a Repository Class: This class implements the repository interface and contains the actual data access logic.
- Bind the Interface to the Repository in Laravel’s Service Container: This allows Laravel to inject the appropriate repository implementation wherever it's needed.
- Use the Repository in Your Controllers or Services: Instead of accessing the Eloquent models directly, you use the repository.
Let’s go through each step in more detail.
Step 1: Create a Repository Interface
First, create an interface for your repository. This interface defines the methods that your repository class will implement.
```php
namespace App\Repositories;
interface UserRepositoryInterface
{
public function getAllUsers();
public function getUserById($id);
public function createUser(array $data);
public function updateUser($id, array $data);
public function deleteUser($id);
}
```
Step 2: Create a Repository Class
Next, create a repository class that implements this interface. This class will contain the actual data access logic.
```php
namespace App\Repositories;
use App\Models\User;
class UserRepository implements UserRepositoryInterface
{
public function getAllUsers()
{
return User::all();
}
public function getUserById($id)
{
return User::find($id);
}
public function createUser(array $data)
{
return User::create($data);
}
public function updateUser($id, array $data)
{
$user = User::find($id);
if ($user) {
$user->update($data);
return $user;
}
return null;
}
public function deleteUser($id)
{
$user = User::find($id);
if ($user) {
return $user->delete();
}
return false;
}
}
```
Step 3: Bind the Interface to the Repository in Laravel’s Service Container
To make Laravel inject the correct repository implementation, you need to bind the interface to the concrete class in a service provider. You can do this in the AppServiceProvider or create a new provider.
```php
namespace App\Providers;
use Illuminate\Support\ServiceProvider;
use App\Repositories\UserRepositoryInterface;
use App\Repositories\UserRepository;
class RepositoryServiceProvider extends ServiceProvider
{
public function register()
{
$this->app->bind(UserRepositoryInterface::class, UserRepository::class);
}
public function boot()
{
//
}
}
```
Don't forget to register this provider in your config/app.php file.
Step 4: Use the Repository in Your Controllers or Services
Now that you have set up the repository pattern, you can use the repository in your controllers or services.
```php
namespace App\Http\Controllers;
use App\Repositories\UserRepositoryInterface;
use Illuminate\Http\Request;
class UserController extends Controller
{
protected $userRepository;
public function __construct(UserRepositoryInterface $userRepository)
{
$this->userRepository = $userRepository;
}
public function index()
{
$users = $this->userRepository->getAllUsers();
return view('users.index', compact('users'));
}
public function show($id)
{
$user = $this->userRepository->getUserById($id);
return view('users.show', compact('user'));
}
public function store(Request $request)
{
$this->userRepository->createUser($request->all());
return redirect()->route('users.index');
}
public function update(Request $request, $id)
{
$this->userRepository->updateUser($id, $request->all());
return redirect()->route('users.index');
}
public function destroy($id)
{
$this->userRepository->deleteUser($id);
return redirect()->route('users.index');
}
}
```
Advantages of Using the Repository Pattern in Laravel
Decoupling of Code: Your business logic is no longer tied directly to the data access logic. This separation makes your code cleaner and more readable.
Ease of Testing: By using the Repository Pattern, you can easily mock the repositories during testing, which simplifies unit testing.
Centralized Data Access Logic: All data access operations are centralized in repositories, making it easier to manage and maintain.
Flexibility and Maintainability: Changing the data source (e.g., moving from MySQL to MongoDB) only requires changes in the repository layer, not throughout your entire application.
Conclusion
The Repository Pattern is a powerful way to organize your Laravel codebase, making it more maintainable and testable. While it introduces a slight overhead by adding more layers to your application, the benefits of a clean, decoupled architecture usually outweigh these costs. By following the steps outlined above, you can implement the Repository Pattern in your Laravel projects and enjoy a more robust and scalable application structure.
